Creating a Course
Important
You need extra rights to create a course. You can easily request these rights by filling out this form after logging in. We will grant your account the necessary access rights as soon as possible.
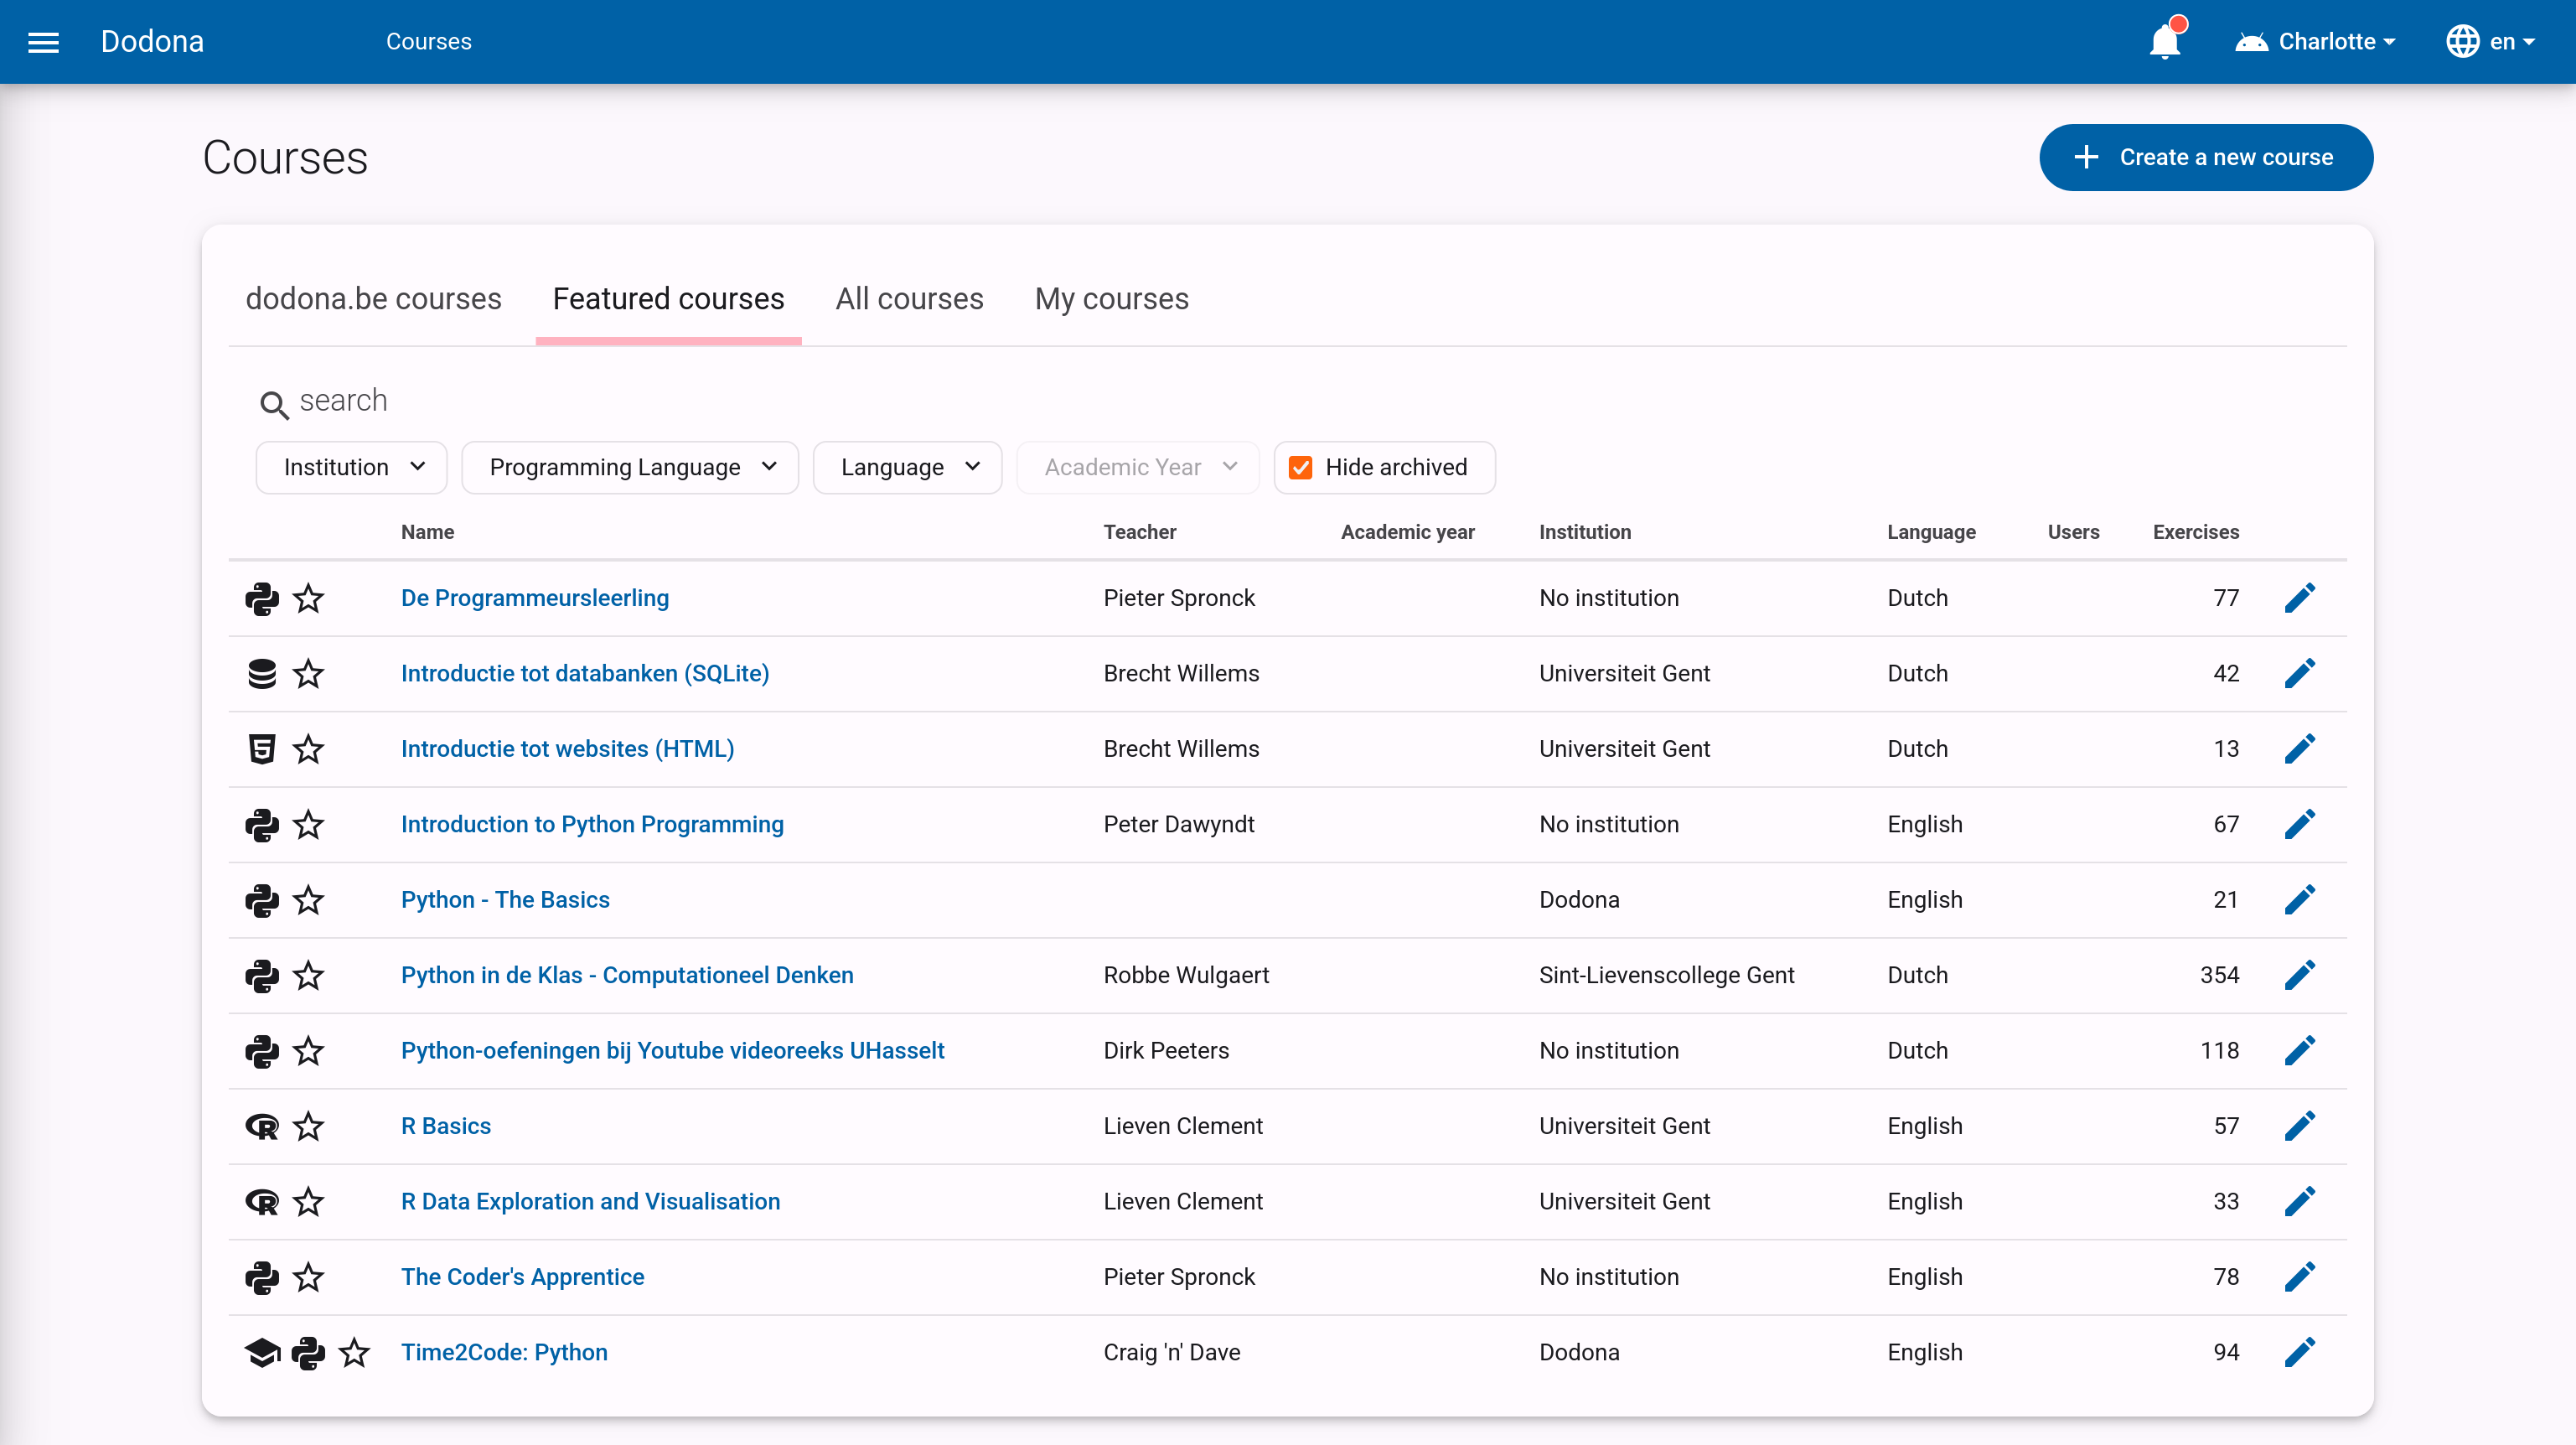
If you have the necessary rights on Dodona, you can easily create a course yourself. You do this by clicking on the Create a new course button in the upper right corner of the course overview. From the landing page, you can reach this overview by clicking on Browse all courses on Dodona.
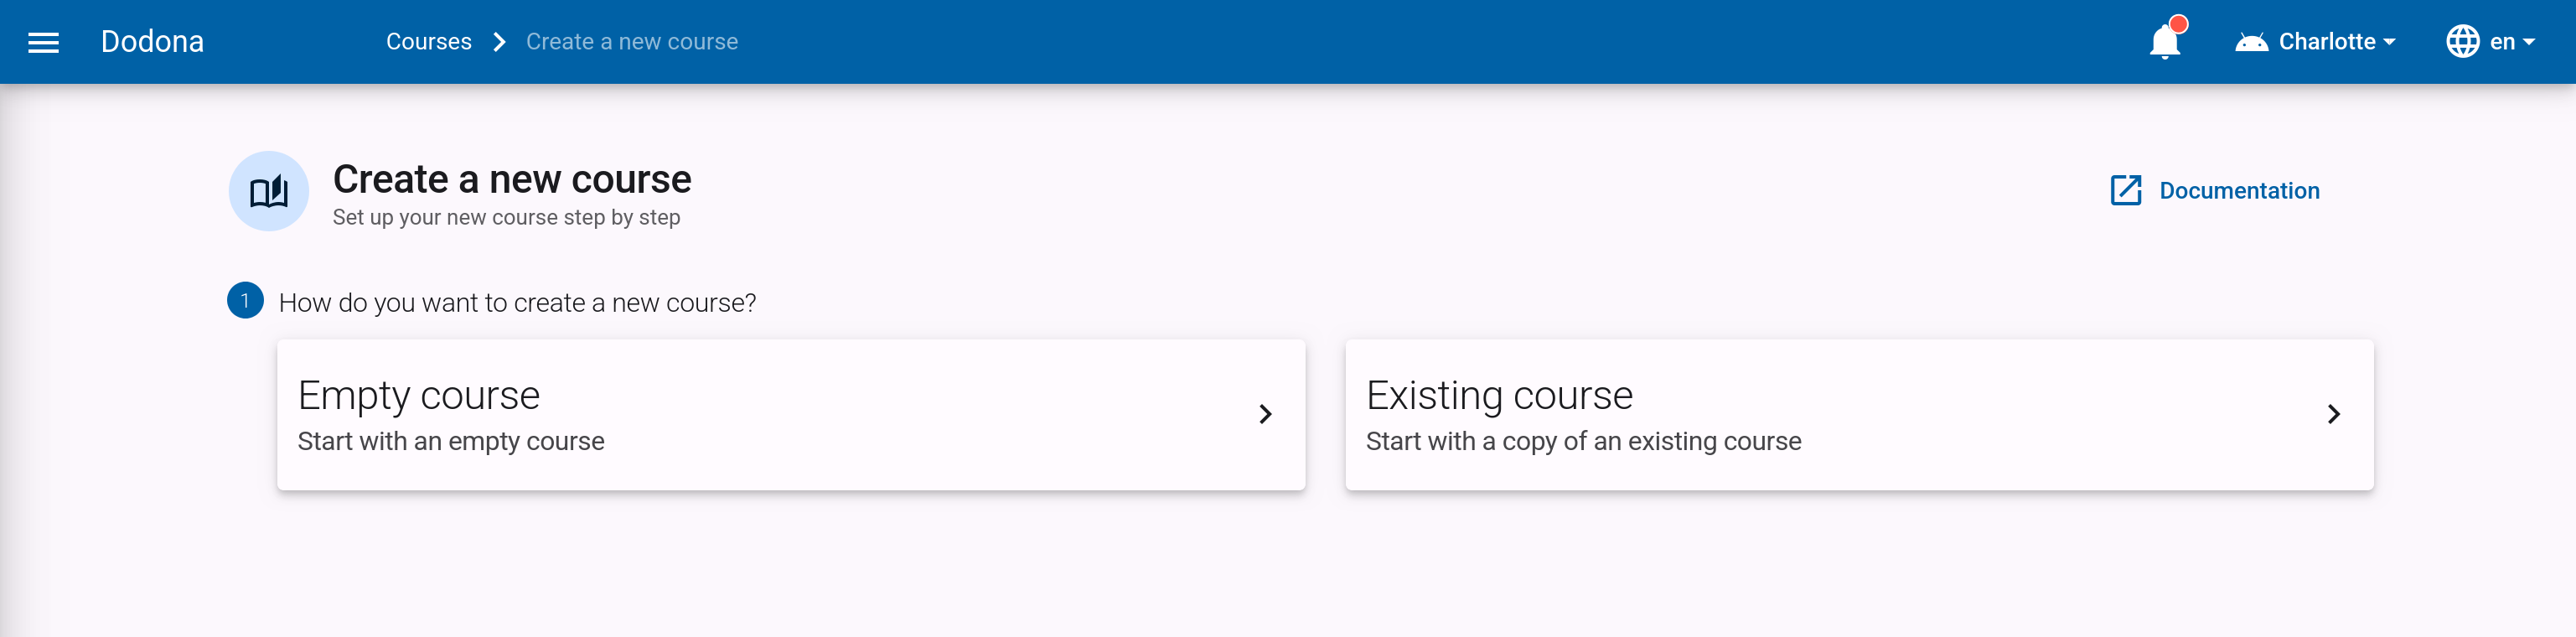
To create a new course, there are two options. Either you start from an existing course and copy the content, or you create a completely new course. Click on one of the two buttons to make your choice. If you choose to start with an empty course, you can go directly to the section on course properties.
Copy Course
Quick Copy
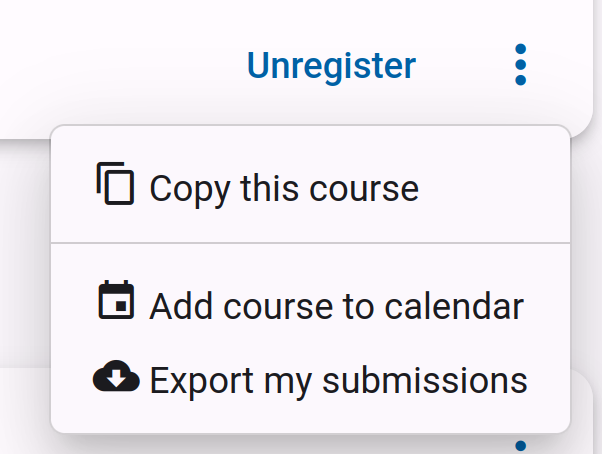
If you want to quickly copy an existing course, follow these steps:
- Navigate to the course you want to copy.
- Click on the three vertical dots
⋮in the bottom right corner of the top card of the course. - Choose
Copy this course.
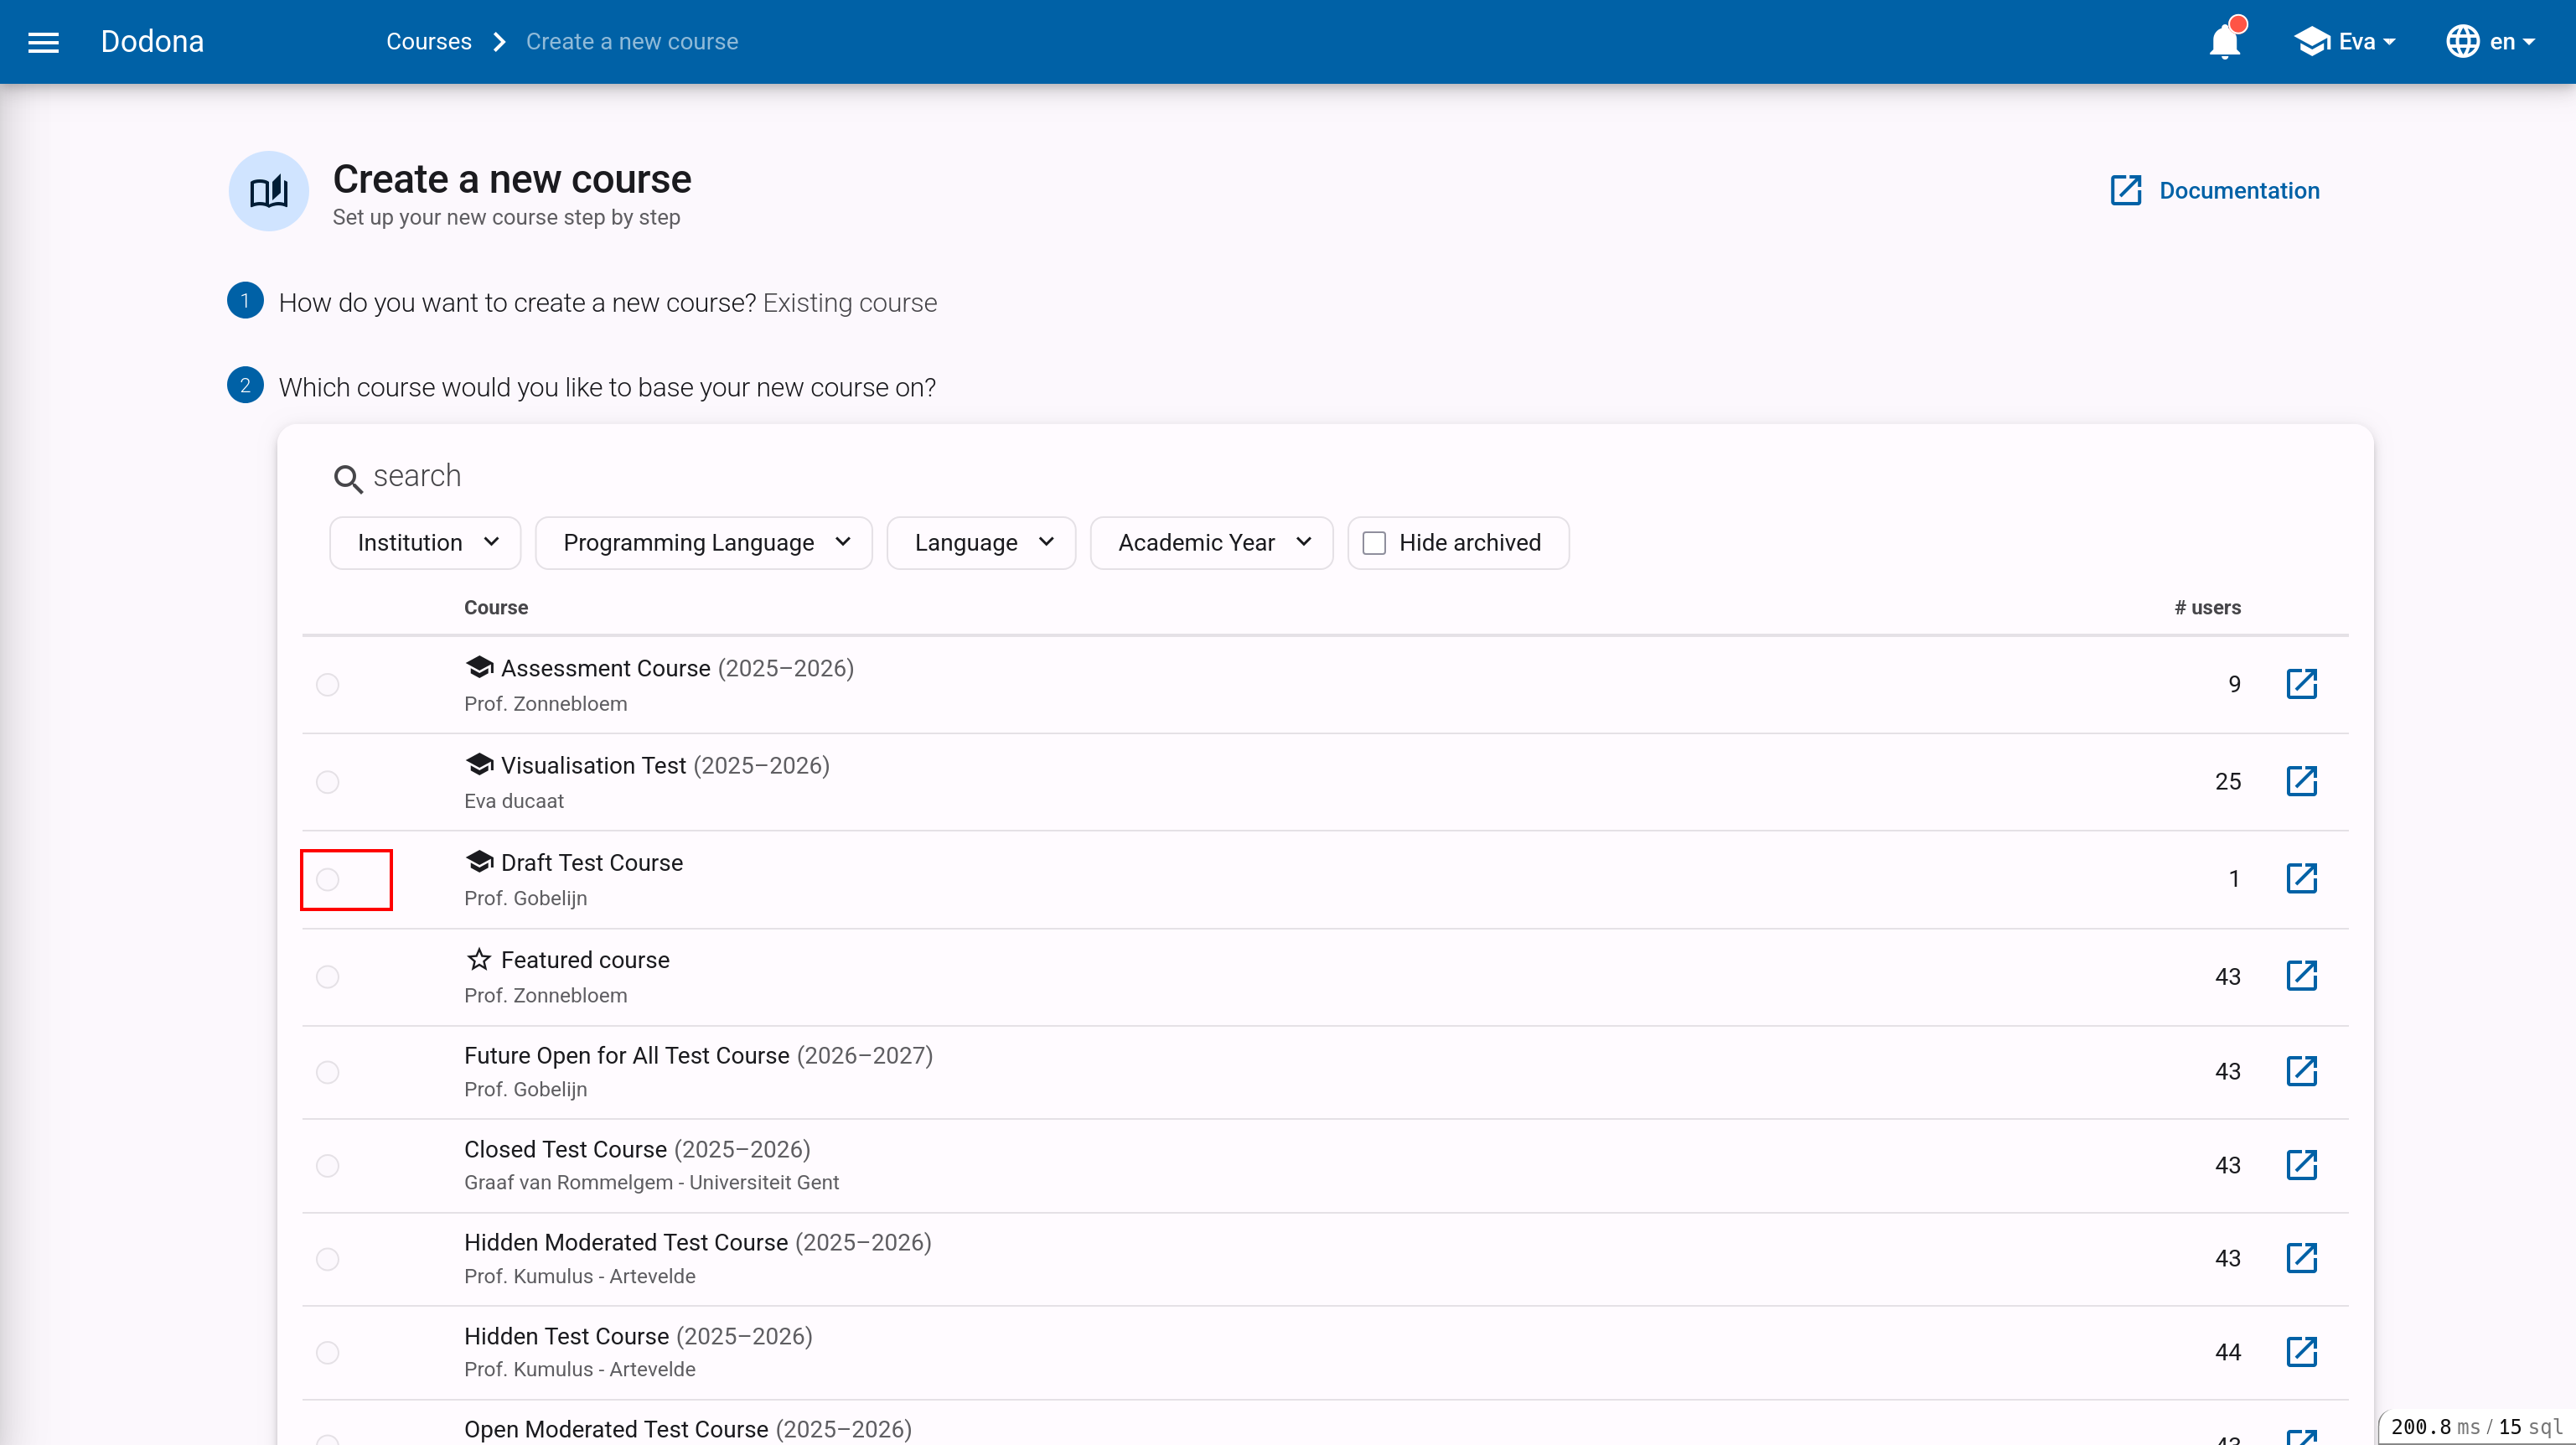
If you have chosen to copy an existing course, you will see a list of all visible courses on Dodona. You can filter using the search bar to quickly find the desired course. Click the link button on the right side of the table to open the respective course in a new window. This way, you can quickly check if this is the correct course. Click the circle in the left column to confirm your choice.
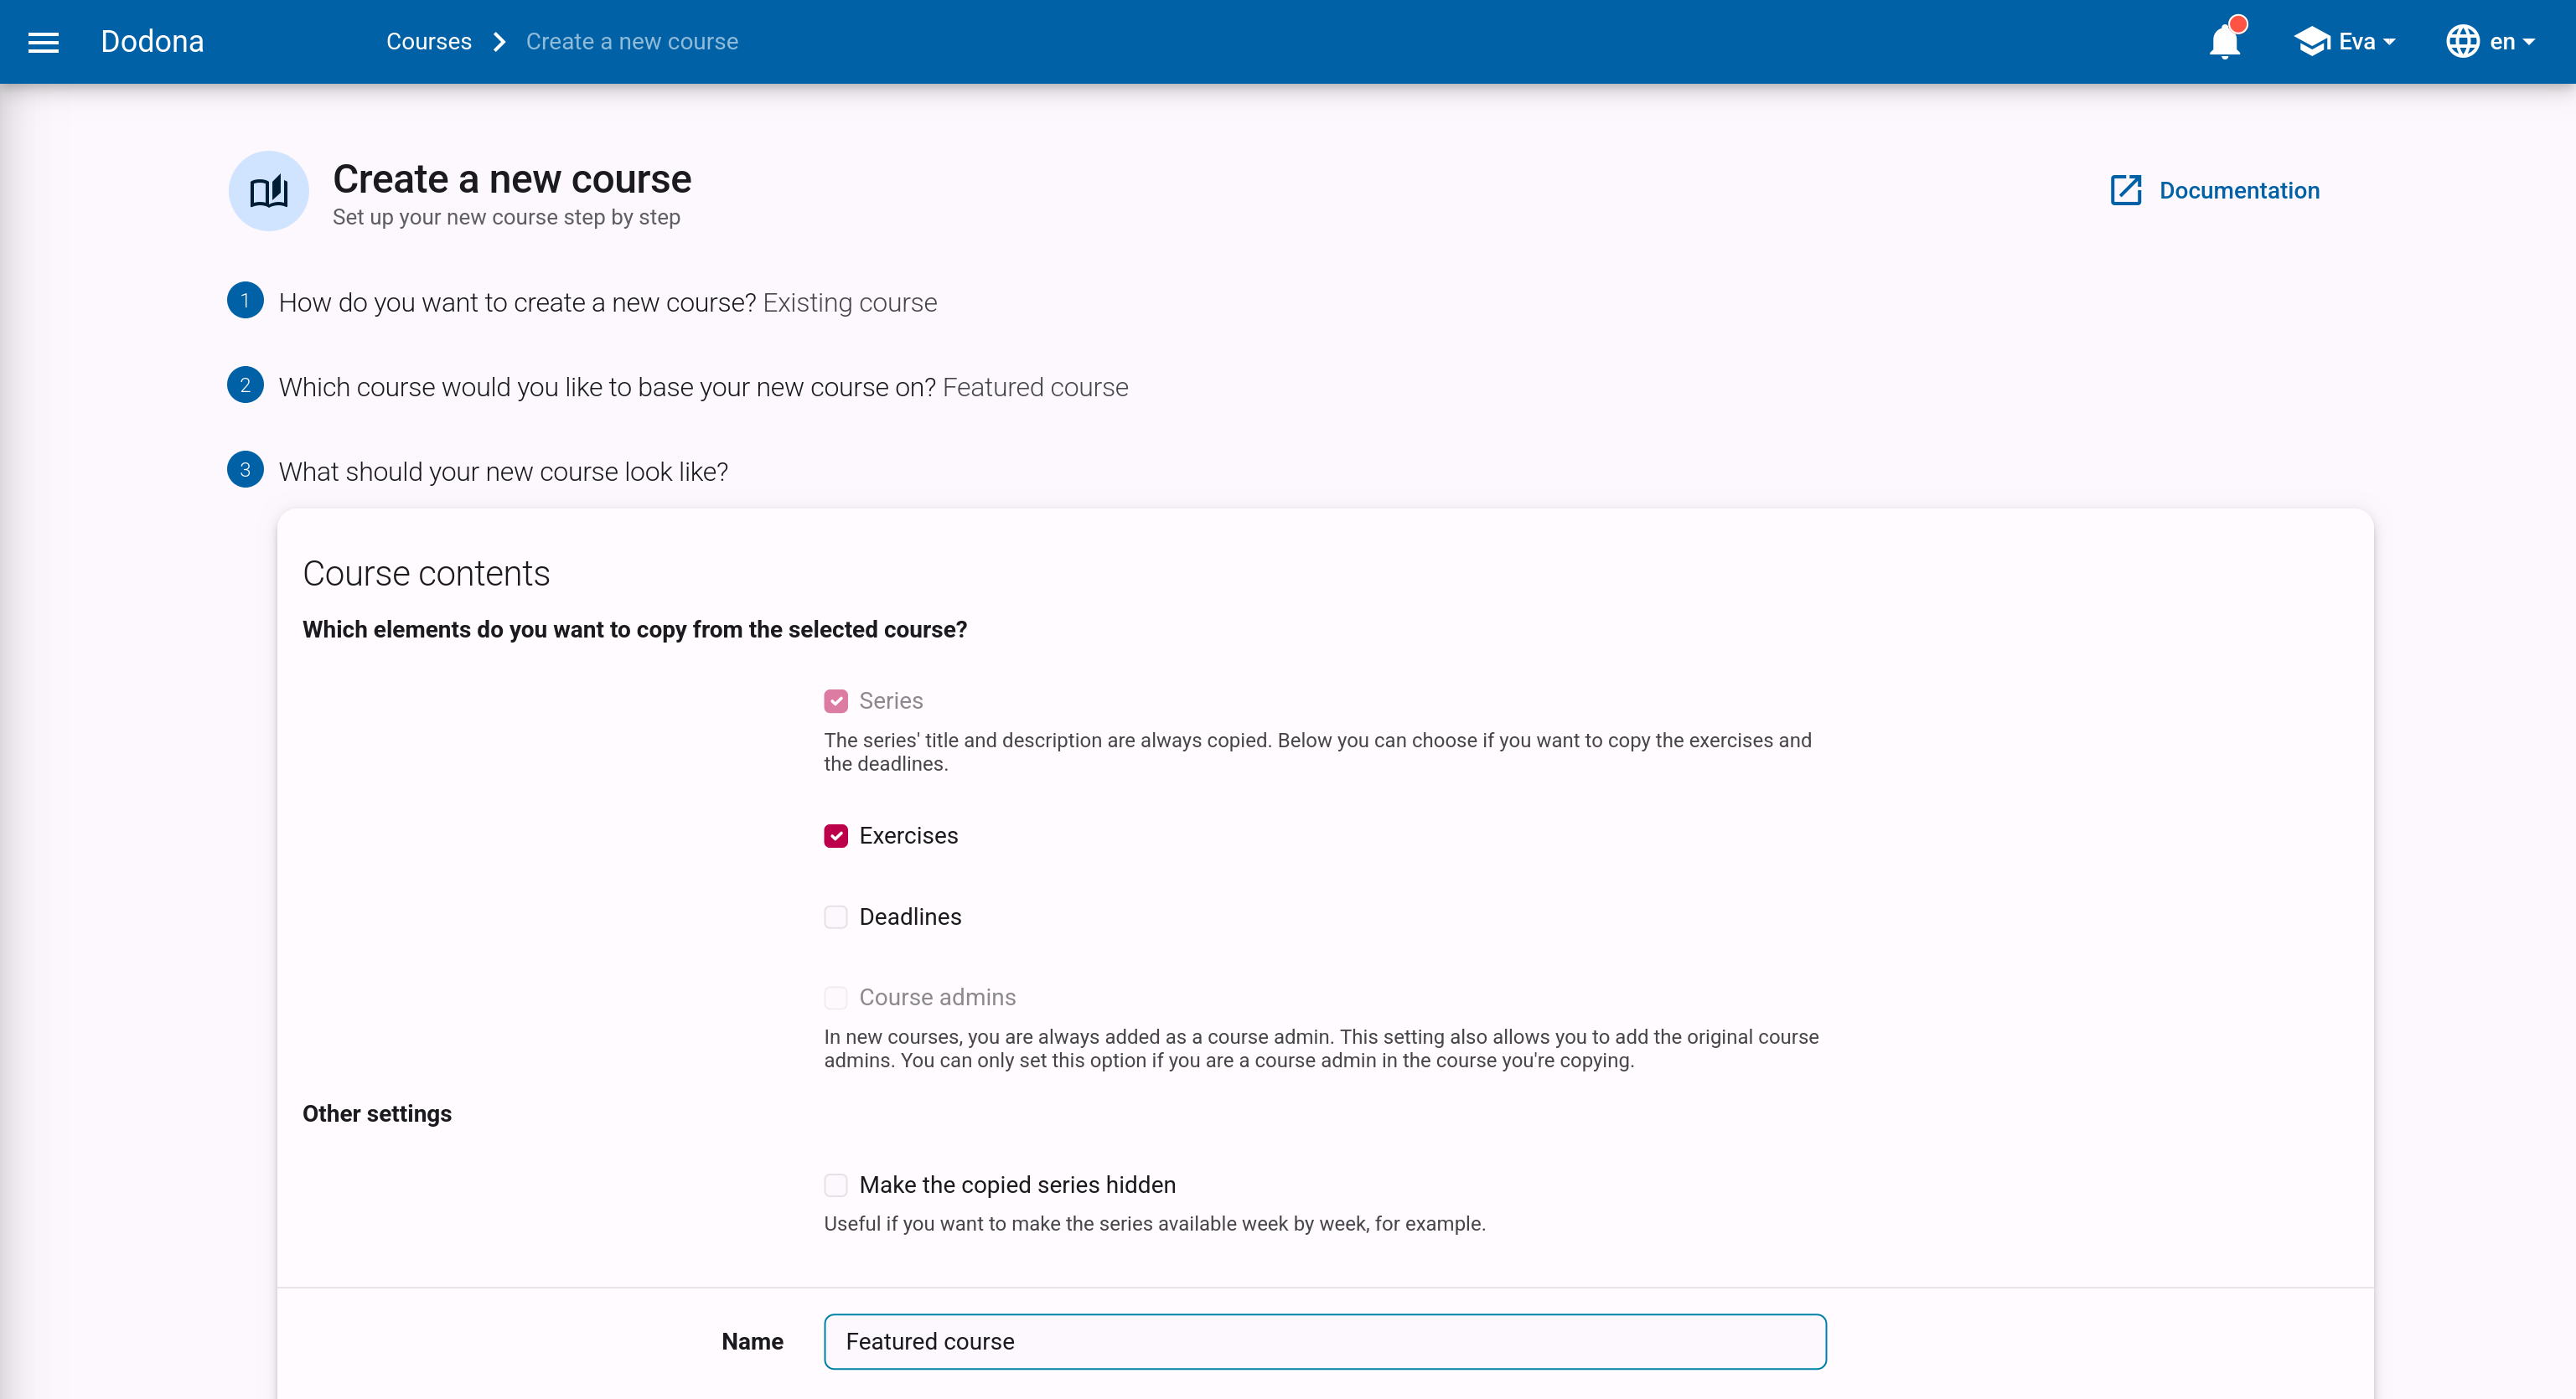
Next, you need to specify which elements of the course you want to copy. The series structure, including descriptions, is always copied. You can then choose whether to copy the exercises, deadlines, and course administrators. You can also choose to set all copied series to hidden by default. This is very useful if you do not want to release the entire course to your students yet.
Course Properties
Finally, you need to set a few things about the course itself, such as the name and instructor. These are pre-filled with the values of the copied course if that option was chosen. The following properties can be set:
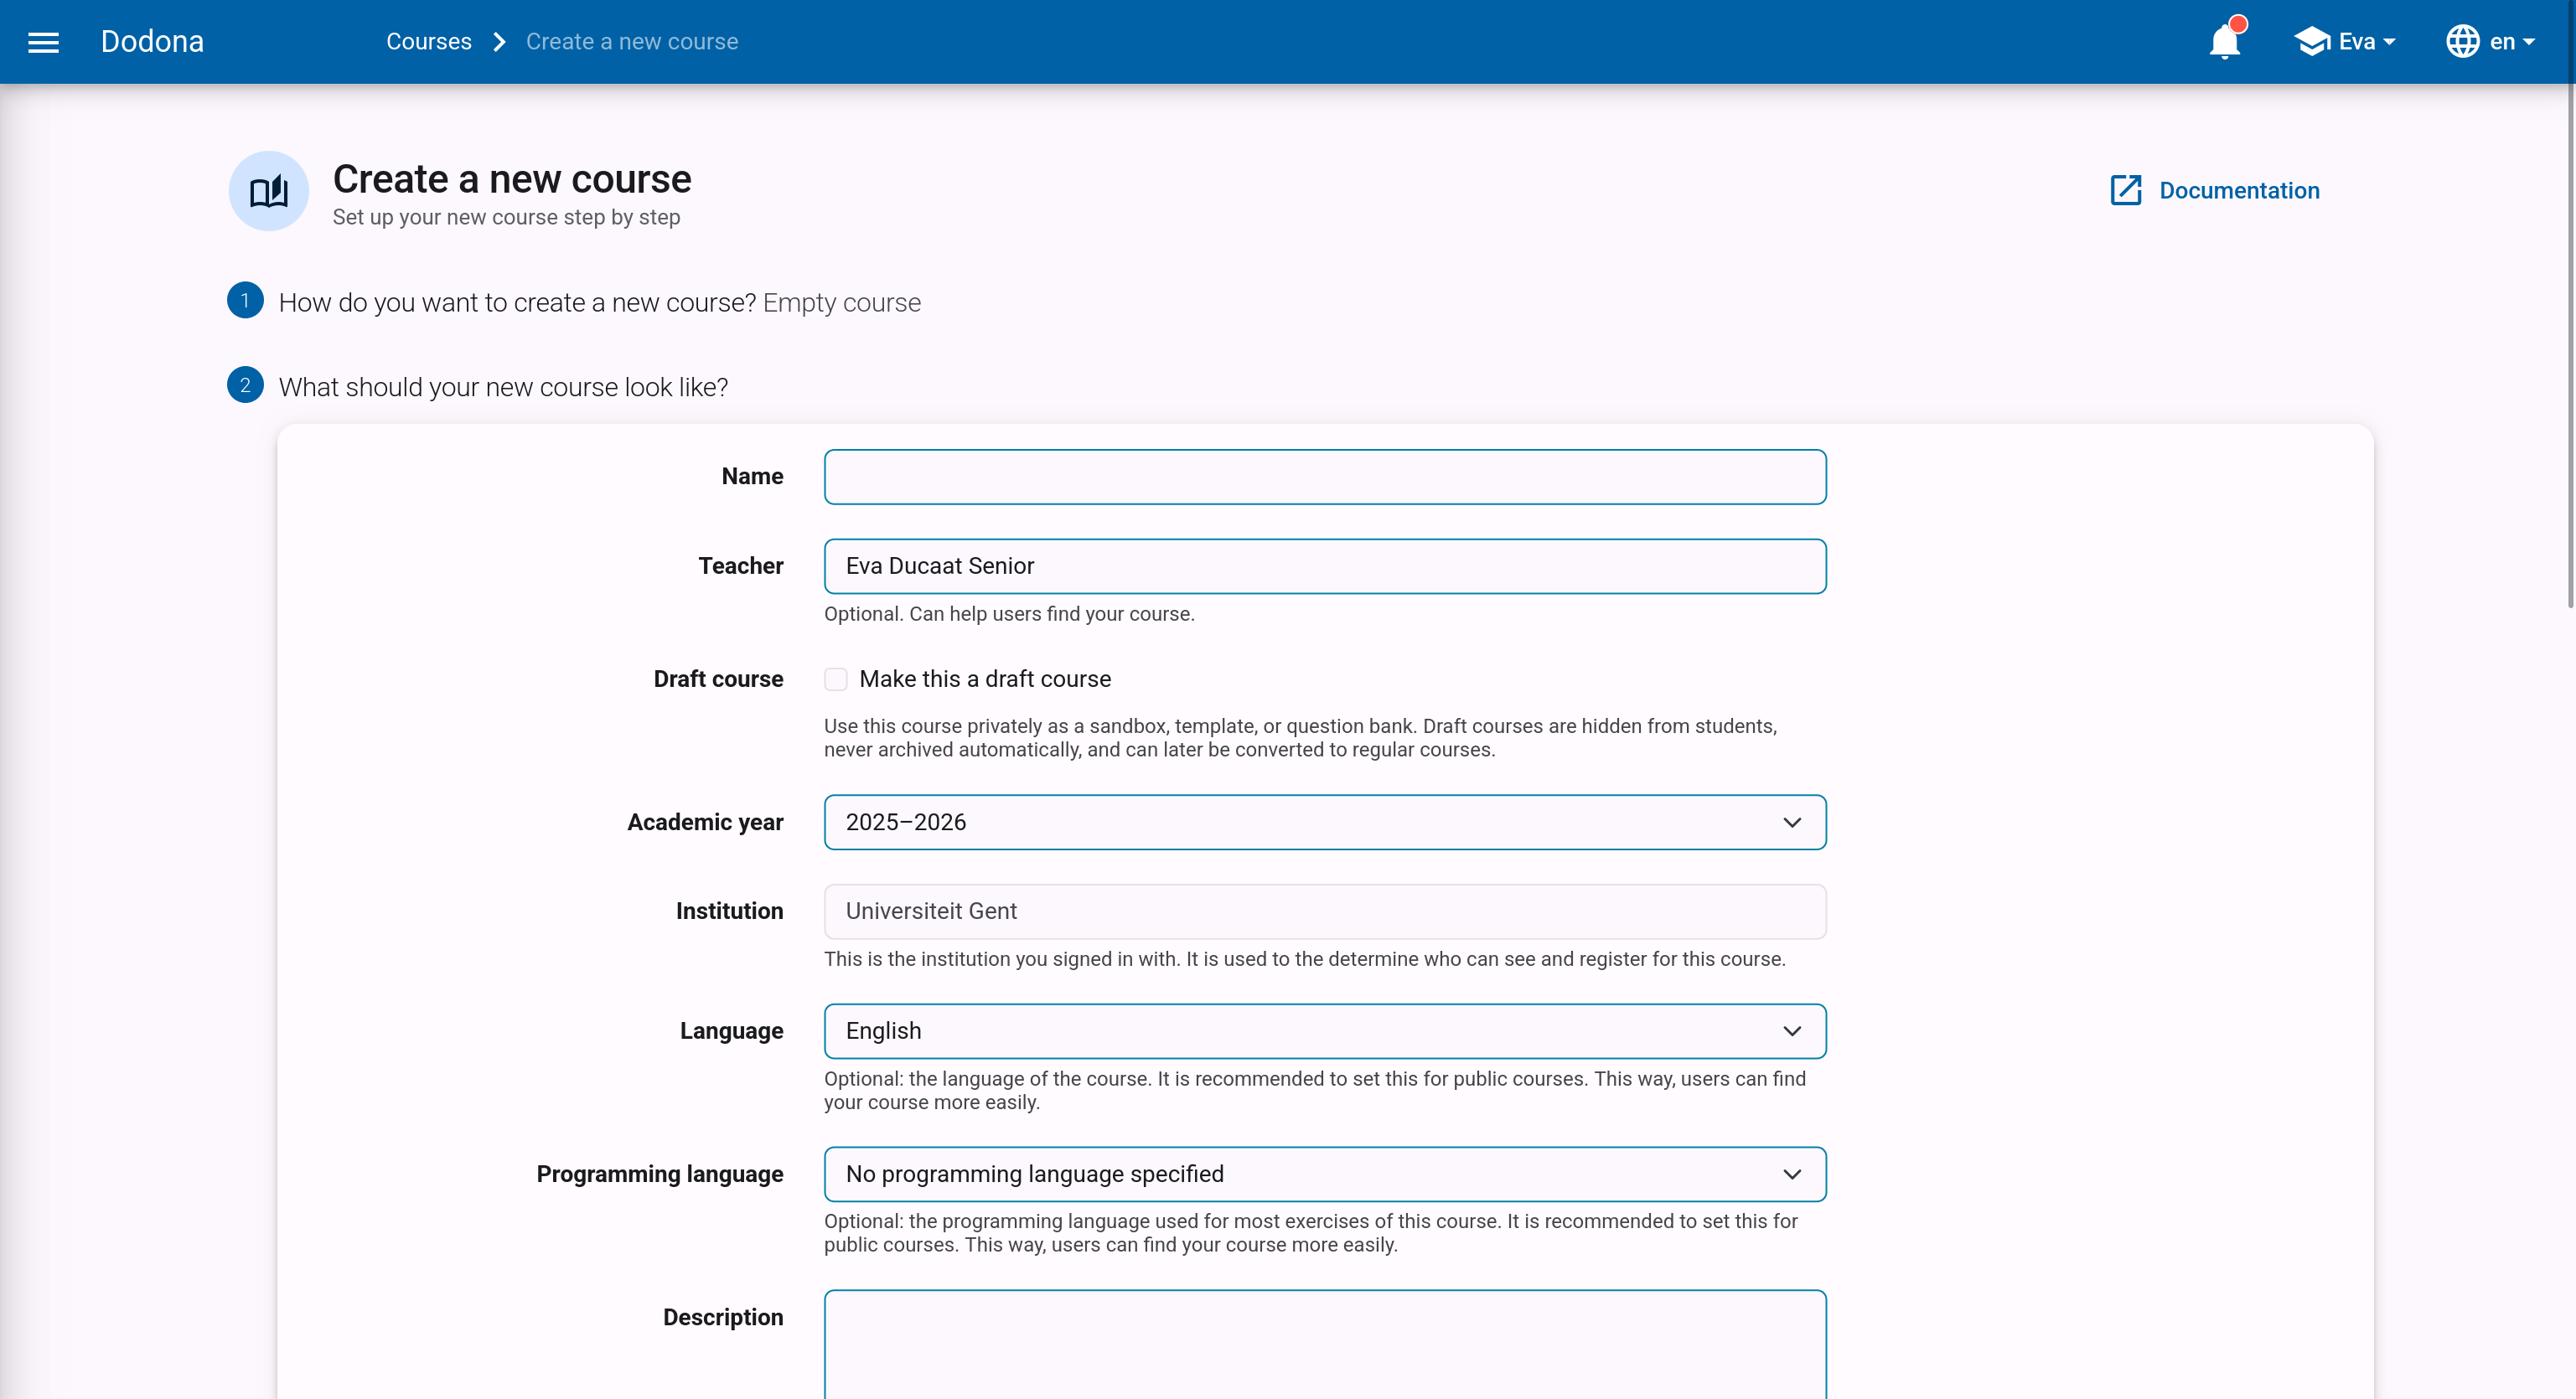
Name: a name for the course. Different courses can have the same name, but it is advisable to give courses a unique name whenever possible.Teacher: the name or names of the instructors of the course.Draft course: whether the course is a draft. Draft courses let you prepare a course before it's available to students. A draft course can also serve as a template or content bank to copy exercises and reading activities into other courses. It can't have an academic year, and itsQuestionsand access-rights options can't be changed either. Students are never able to see draft courses.Academic year: the academic year in which the course is offered.Language: the natural language in which the course is given. This can be set to any of the supported languages (e.g. Dutch, English, French, ...). It is optional and helps users find courses in their preferred language. Additionally, the course language determines in which language the activities in the course are shown: if an activity has a description available in the course language, that description will be used.Programming language: the programming language that is used in the course. This is optional and only used to help users find courses in their preferred programming language.Description: an optional piece that is displayed at the top of the course page. For formatting the description, you can use Markdown. Dodona uses kramdown for rendering Markdown, which supports many extensions of the standard Markdown. For more explanation on how this formatting works, you can go here.Questions: these settings determine whether students can ask questions on their code in the course, and if a draft answer is automatically generated. The draft answer is never shown directly to students, you decide as a teacher whether to use it or not.
Access Rights
Who can see this course: this setting determines whether non-registered users can see the course. The following values can be set:Only users of the configured institution: the course is only accessible to users of the set educational institution (seeEducational Institutionabove) and a direct link (see next item).Only registered users: only registered users can see the course in the courses overview. There is an icon to indicate to course members that other users cannot see the course on the course page itself. Only registered users can navigate to this page. Other users can only register for the course if they use a direct registration link.
Secret link: when creating a course, a secret link is automatically generated as an access mechanism for hidden courses. With this link, users who normally can't see your course can get access to it and register themselves. This can be used to give users from outside your institution access to your institution-only course. You can find the secret link on the course edit page.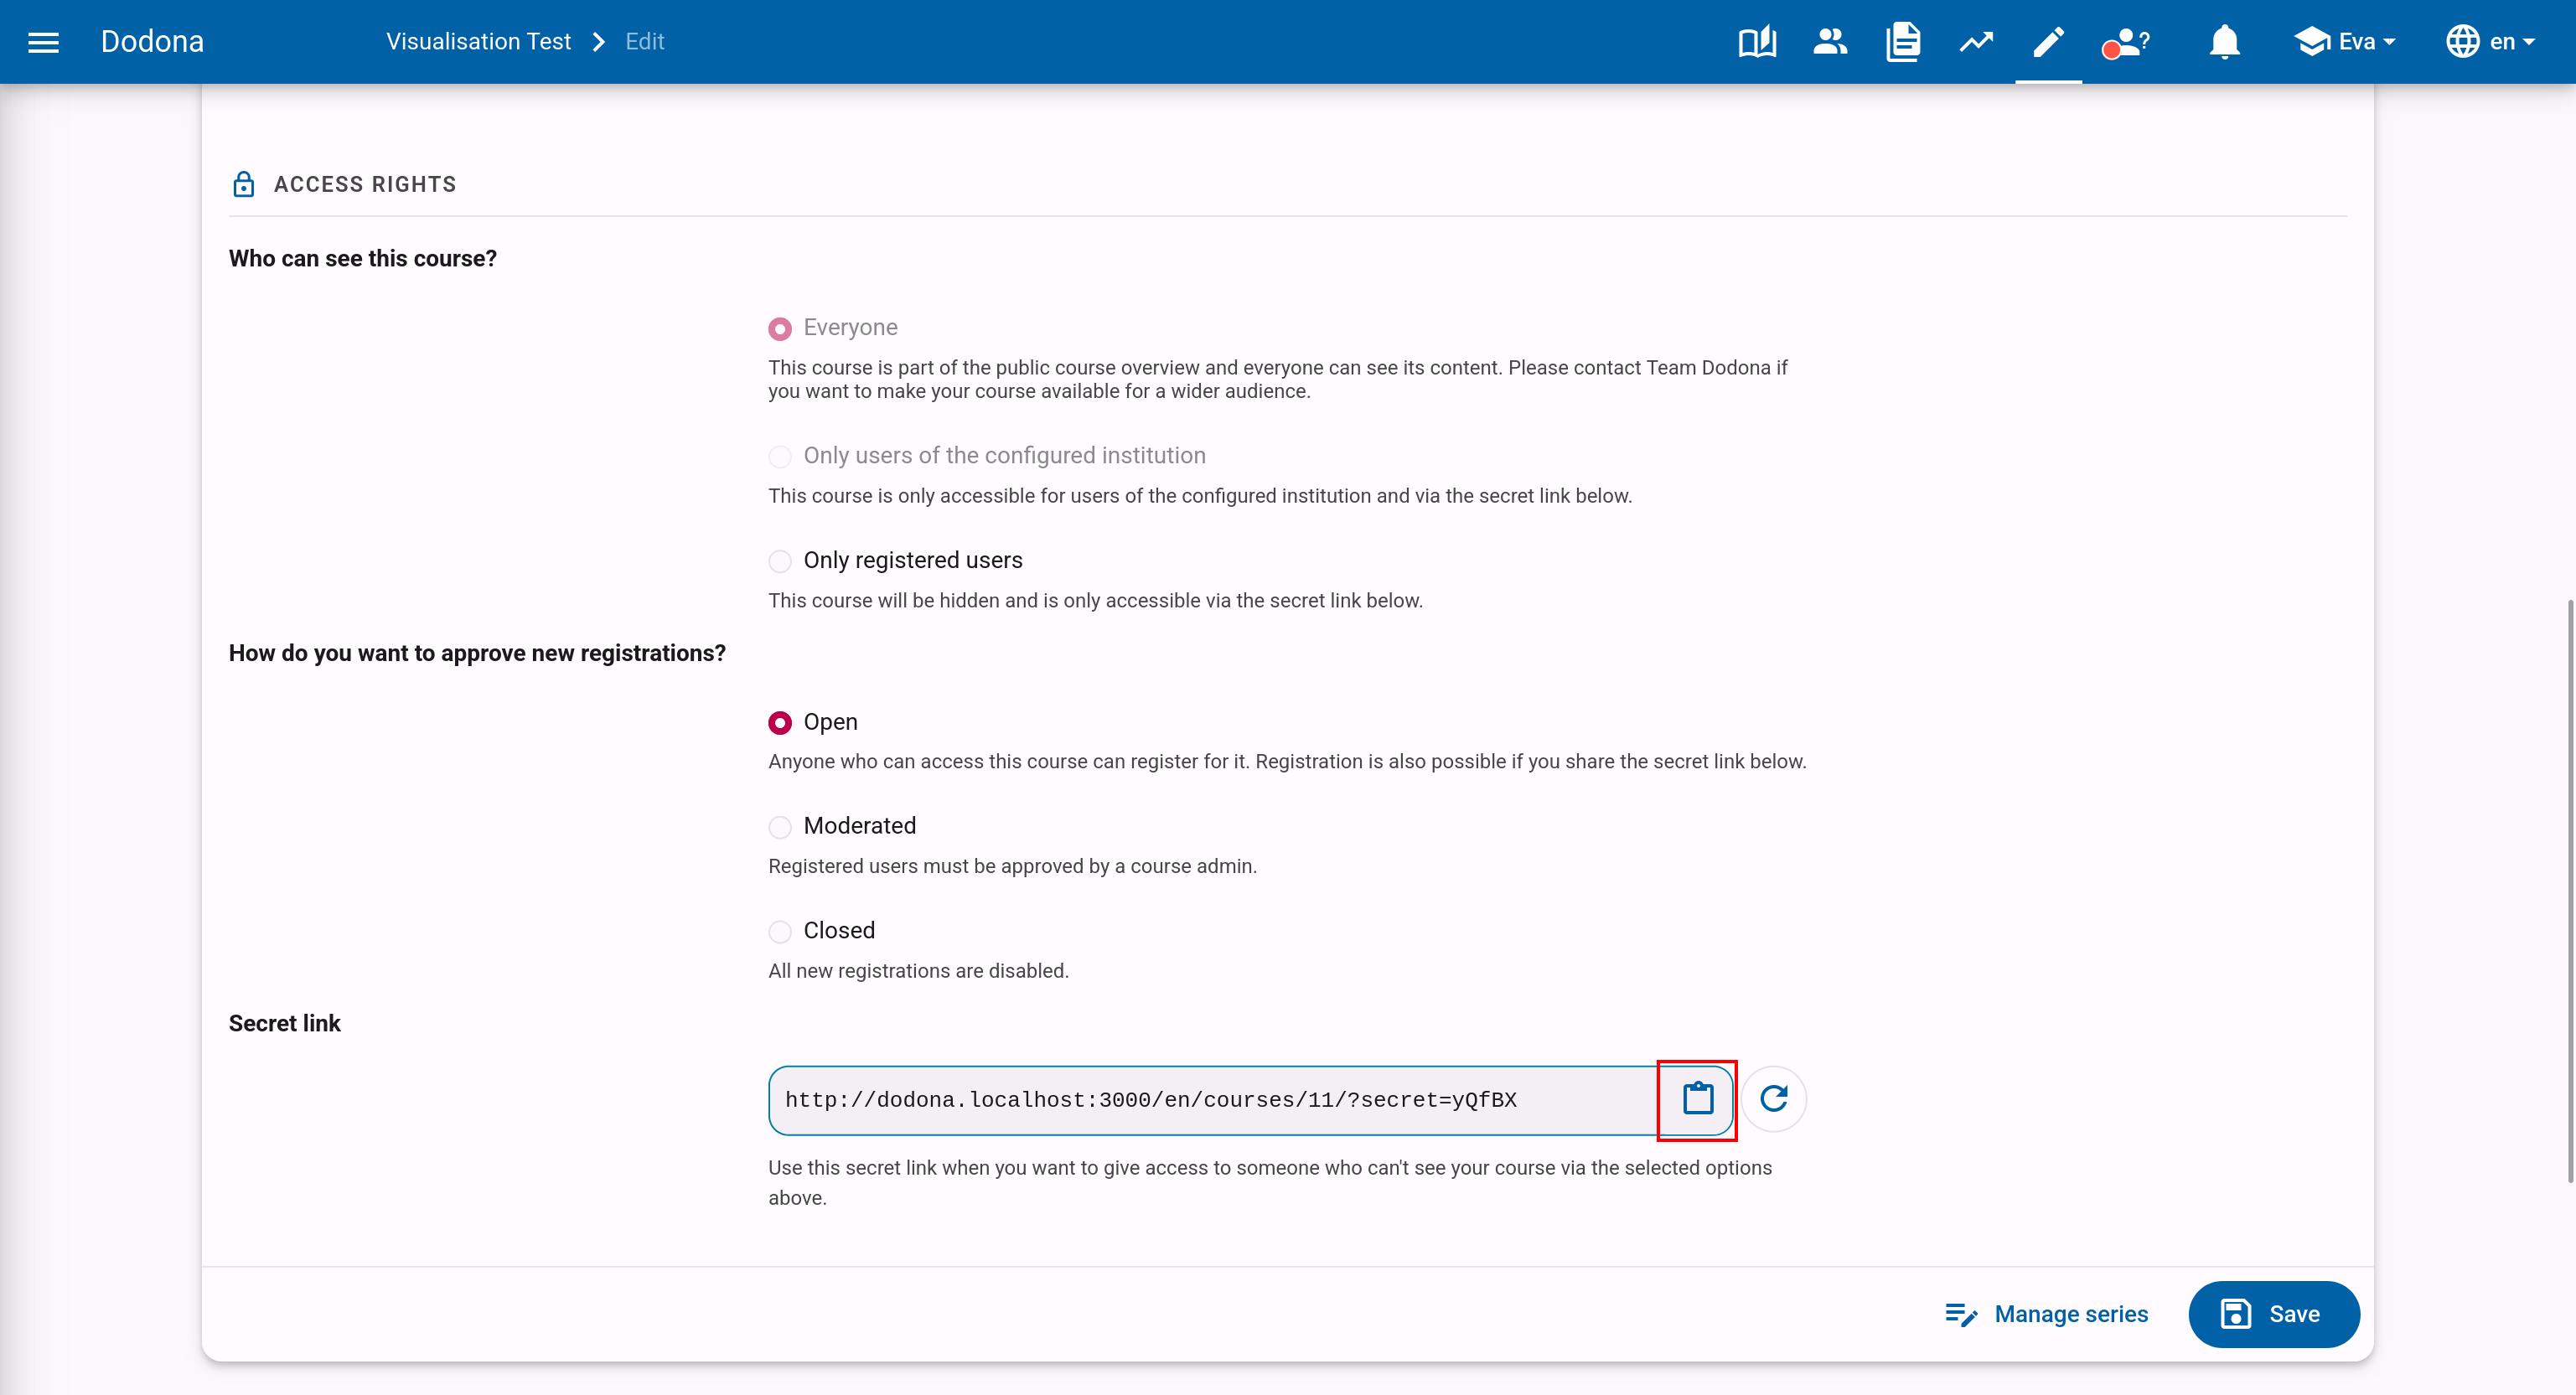
The access link has the advantage that users do not have to search for the course themselves in the course overview and that they immediately receive a request to register for the course if they have not already done so. As a course administrator, you are responsible for sharing the registration link only with non-registered users who are allowed to register for a hidden course.
How do you want to approve new registrations: this setting determines how users can register for the course. The following values can be set:Open: Everyone who can see the course can register for it (this includes anyone accessing the course via the secret link).Moderated: Everyone who can see the course can submit a registration request, but they are only fully registered once approved by a course administrator.Closed: users cannot register themselves for the course.
Important
If you adjust the registration procedure, existing registrations for the course remain valid, and registration requests for the course remain open. You must adjust the existing registration status of course users yourself.
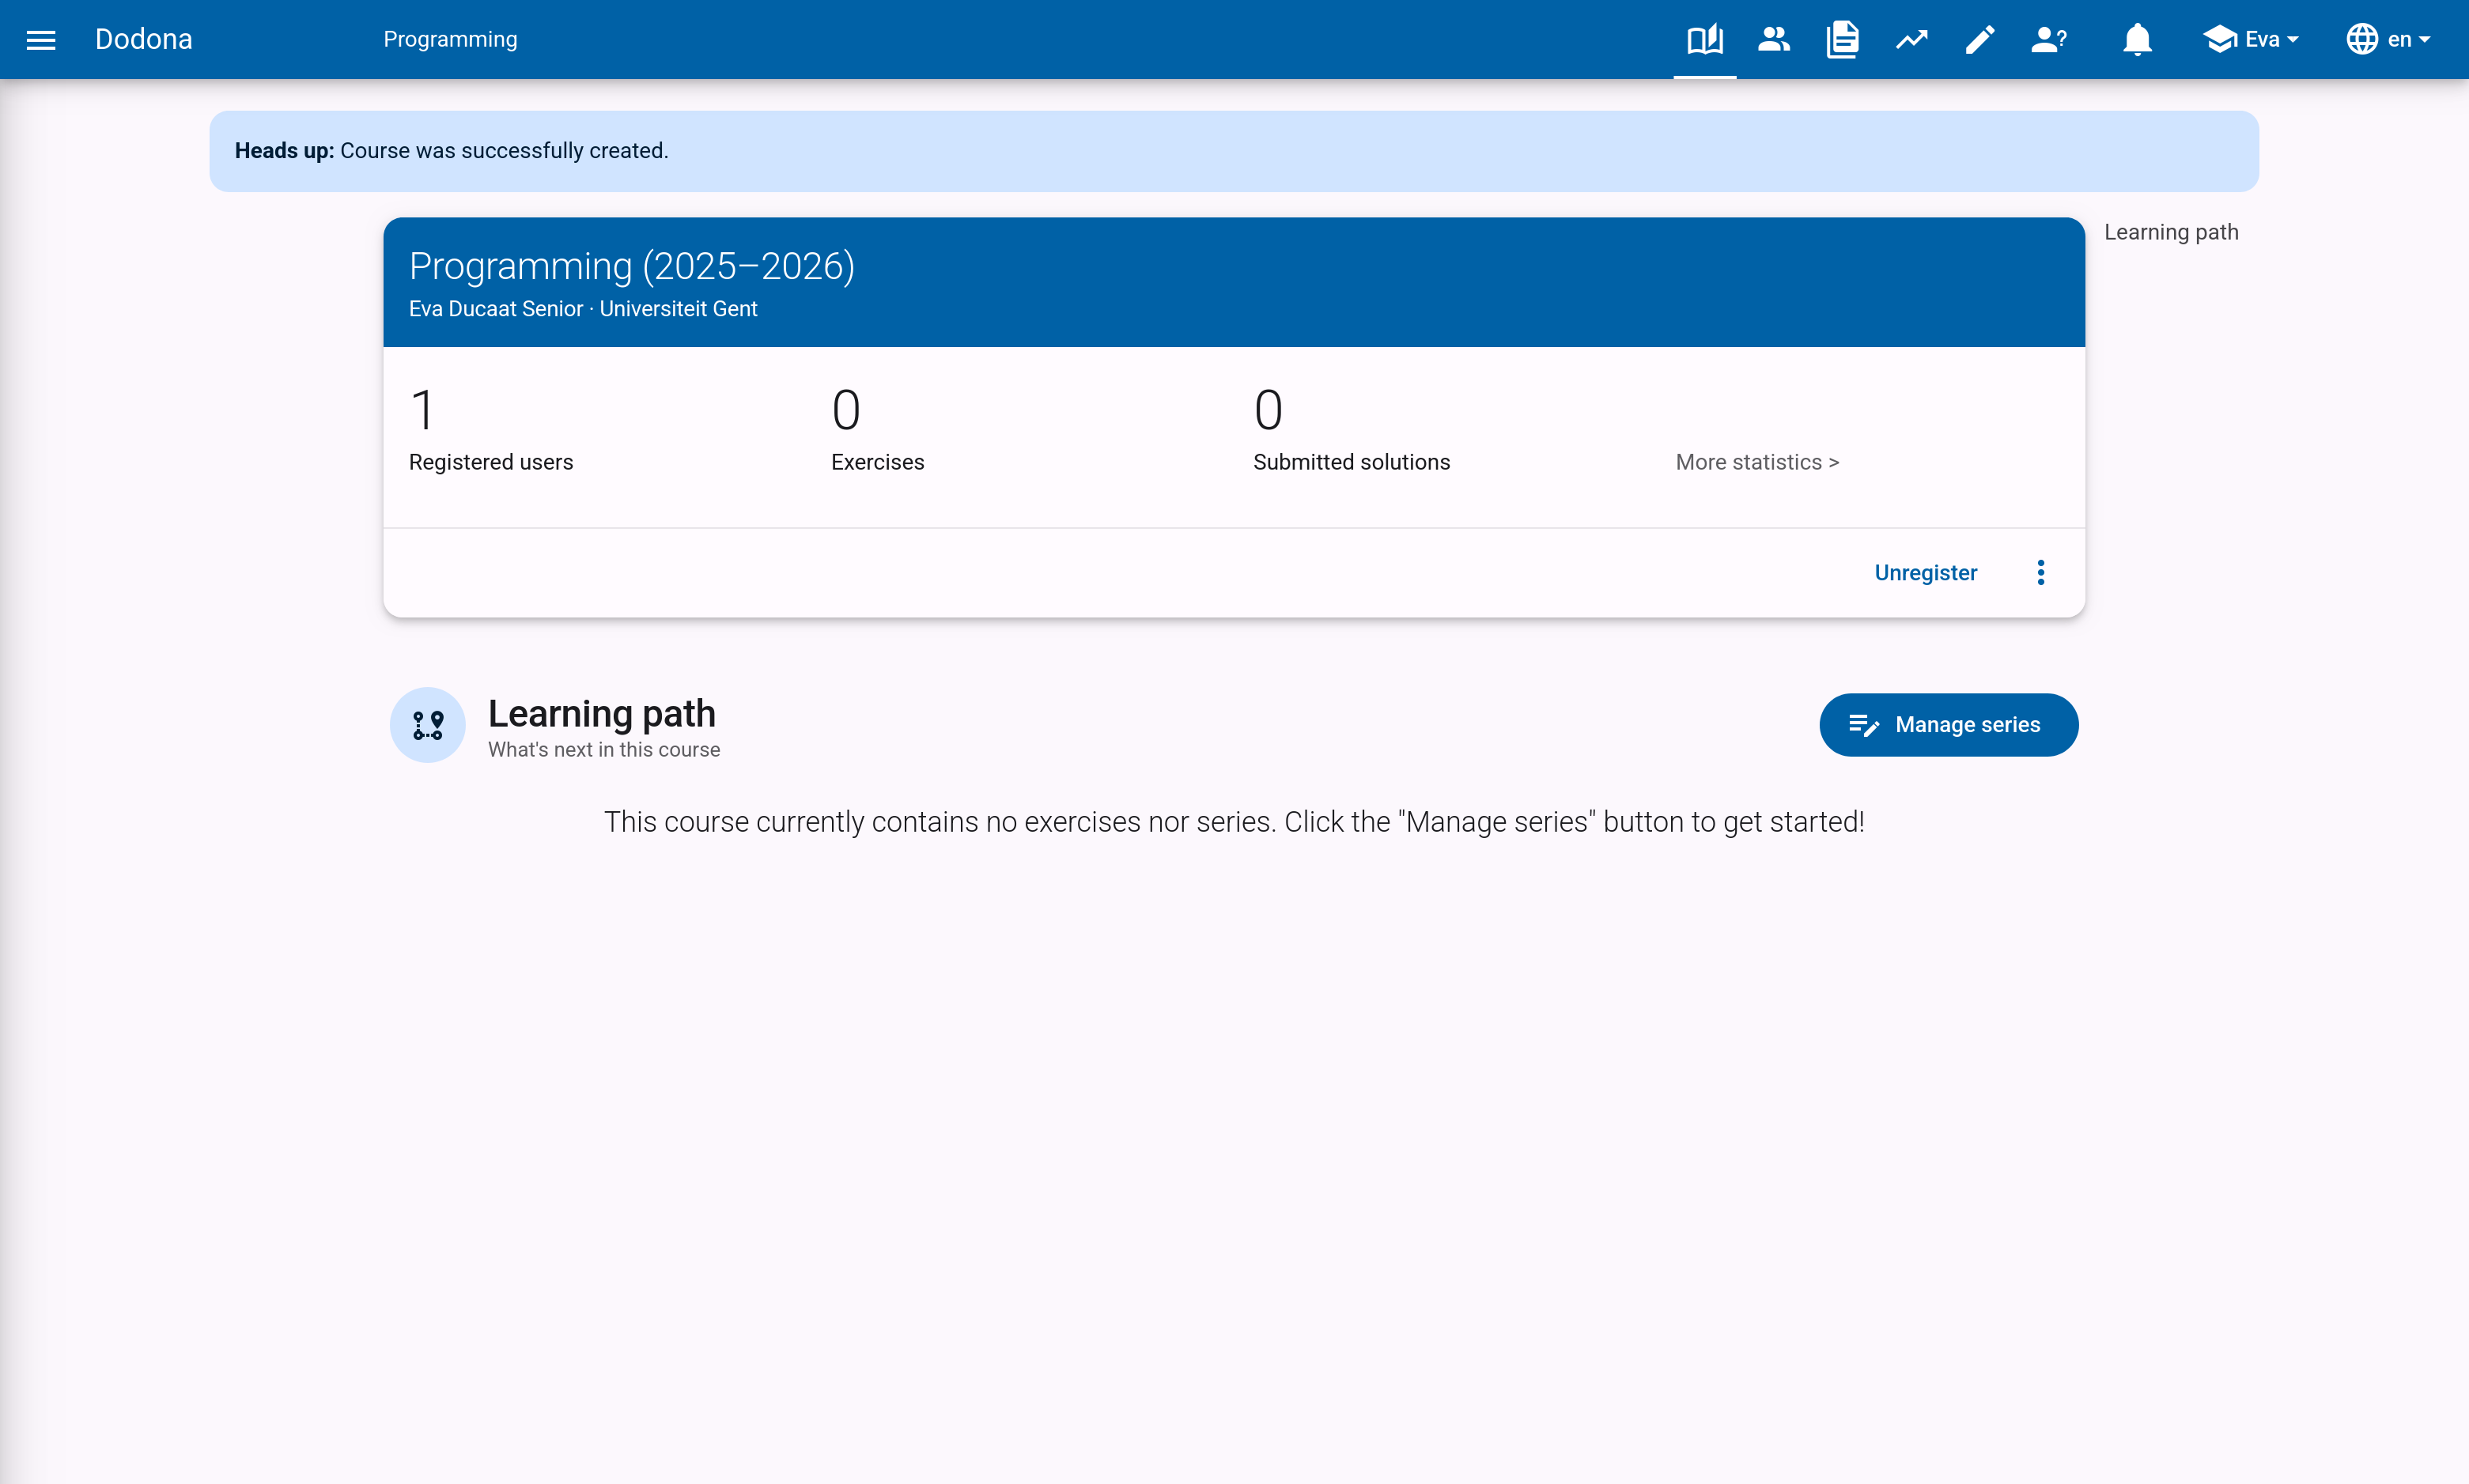
Once everything is set to your liking, click the Create Course button to finalize your course creation.
After creating the new course, you will automatically navigate to the course page, where you can see that you are automatically registered as a course user and that you are designated as a course administrator.